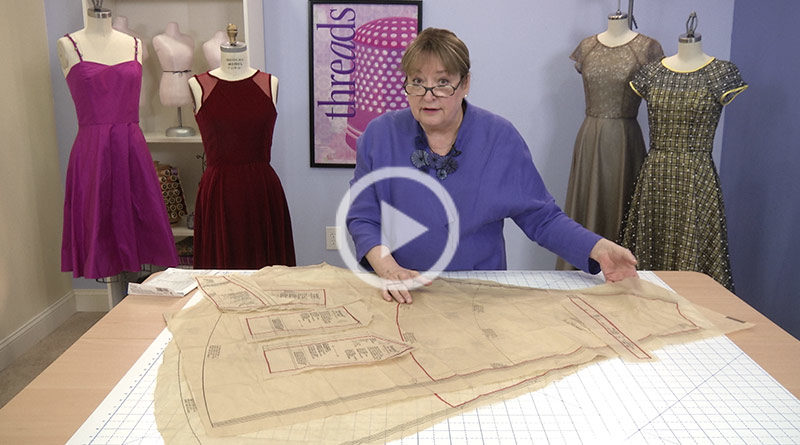
Videos

Watch to learn how to choose and read a pattern, and adjust a muslin.
Read More...
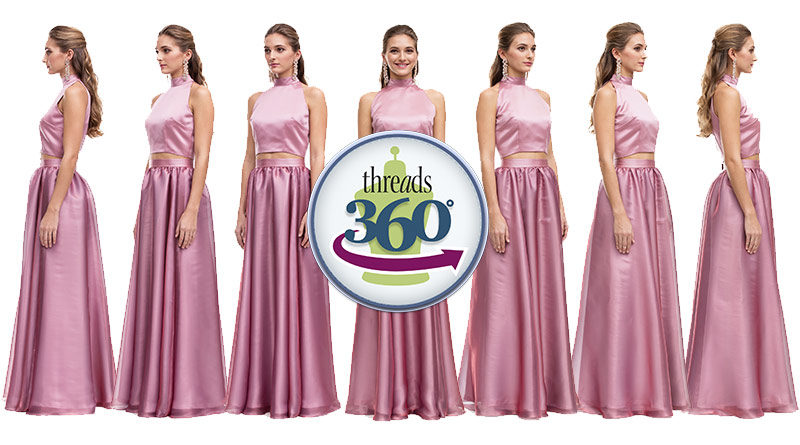
360° Garment Views

Take a 360-degree view of the ensembles that were made using Simplicity SewStylish 8328.
Read More...
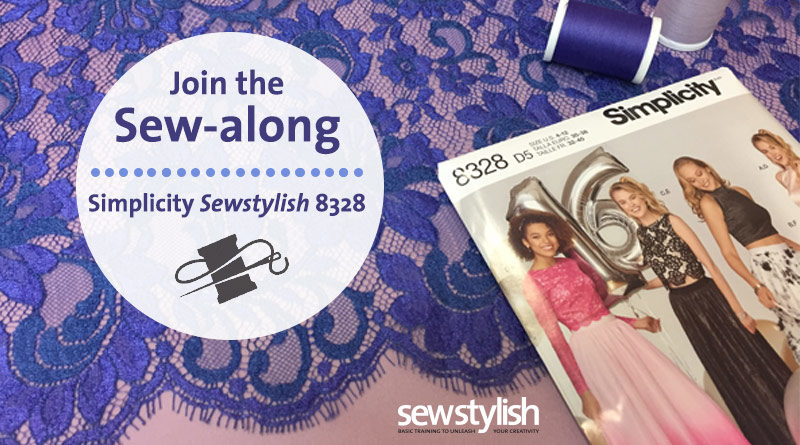
Sew-along

Build your confidence and get fabulous results with our free sew-along.
Read More...
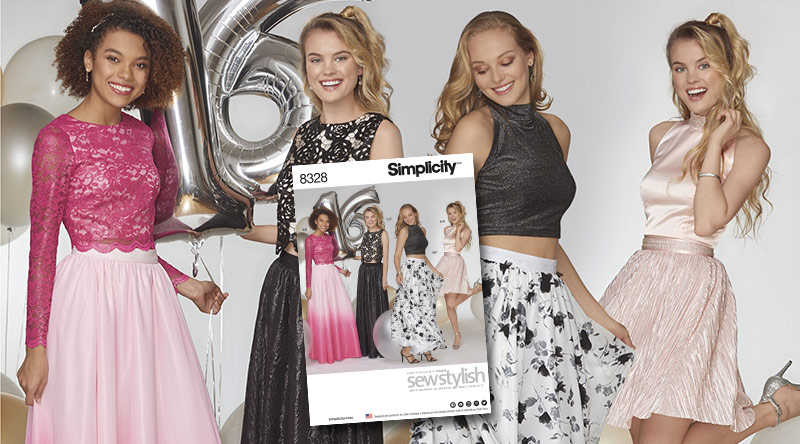
Get Your Copy of Pattern 8328 Today!
Simplicity SewStylish 8328 is a new sewing pattern inspired by spring runway trends from top designers. With this pattern, beginner and intermediate sewers can create amazing on-trend tops, skirts, and prom and evening looks. Pattern 8328 features two skirt lengths and offers sleeveless and long-sleeve top options.

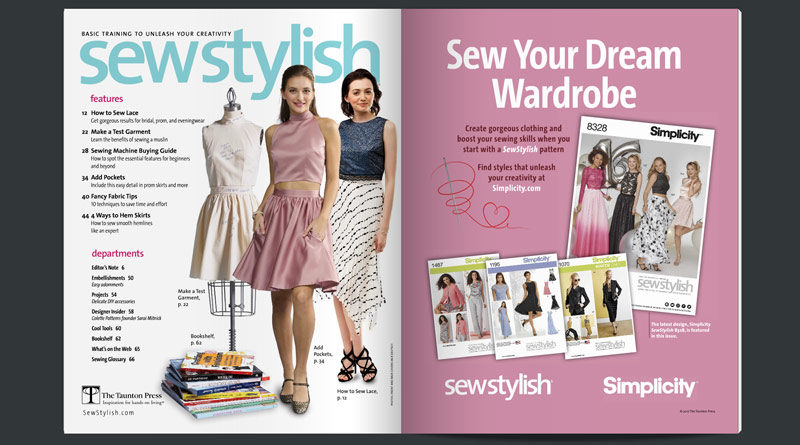
Preview the Issue

Take a look inside the pages of SewStylish Spring 2017.
Read More...
Order Pattern 8328

Create amazing on-trend tops, skirts, and prom and evening looks.
Read More...
Visit the Blog

Find even more sewing techniques, tips and videos on our SewStylish blog.
Read More...